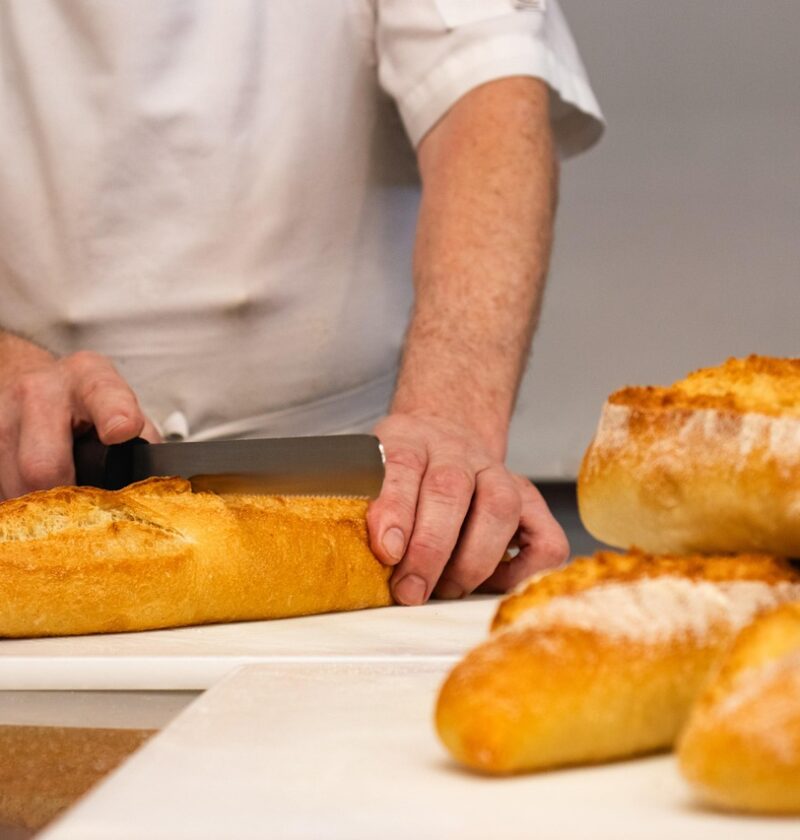
There is something magical about the smell of freshly baked bread. It fills the house with warmth, comfort, and the promise of something truly special waiting in the kitchen. But for many people, the idea of baking bread at home feels intimidating, especially if you don’t have a bread machine.
Maybe you’ve thought about it before, but stopped because it seemed like too much work. Or perhaps you assumed bread baking required professional skills, fancy machines, or complicated techniques. The truth is much simpler: you don’t need a bread machine to make fluffy, soft, delicious bread at home.
With just a few basic ingredients, a mixing bowl, your hands, and an oven, you can bake bread that tastes better than anything from the store. Not only is it fresher, but you’ll also know exactly what went into it, no preservatives, no hidden chemicals, just honest, homemade goodness.
In this article, I’ll walk you step by step through how to make fluffy bread at home without a bread machine. We’ll cover the basics, common mistakes, tips to get that perfect soft texture, and even fun variations you can try once you’ve mastered the basics.
By the end, you’ll feel confident enough to roll up your sleeves, get a little flour on your hands, and pull your very own golden, fluffy loaf out of the oven.
Why Bake Bread at Home?
Before we dive into the recipe, let’s answer the big question: why go through the effort of baking bread at home when you can just buy it at the store?
Here are a few good reasons:
Freshness You Can Taste: Store-bought bread often sits on shelves for days before you buy it. Homemade bread comes straight out of your oven and onto your table. Nothing compares to that freshness.
Healthier Ingredients: Many packaged breads are full of preservatives, additives, and extra sugar. At home, you control exactly what goes in: flour, water, yeast, salt, and maybe a touch of butter or milk.
Better Flavor and Texture: Homemade bread has a depth of flavor and a fluffy, pillowy texture that store bread simply can’t match.
Cost-Effective: Bread baking uses cheap, everyday ingredients. A homemade loaf costs a fraction of what you’d pay for artisanal bread at the bakery
Satisfying Experience: Baking bread is more than just cooking; it’s an experience. There’s something deeply rewarding about kneading dough, watching it rise, and finally cutting into a loaf you made with your own hands.
What You’ll Need
Here’s the beauty of bread making: the ingredient list is surprisingly short. For a basic fluffy white bread, you’ll need:
Flour: 4 cups (all-purpose or bread flour works best)
Yeast: 2¼ teaspoons (instant or active dry yeast)
Sugar: 2 tablespoons (to feed the yeast and add slight sweetness)
Salt: 1½ teaspoons
Warm Water: 1½ cups (not hot—around body temperature, so the yeast stays alive)
Butter or Oil: 2 tablespoons (for richness and softness)
That’s it. No machine, no long shopping list, just a handful of everyday items.
Step-by-Step Guide to Baking Fluffy Bread
Let’s go through the process step by step.
Step 1: Activate the Yeast
If you’re using active dry yeast, dissolve it in warm water with the sugar and let it sit for 5–10 minutes. You’ll see bubbles and foam form; this means the yeast is alive and ready.
If you’re using instant yeast, you can skip this step and mix it directly with the dry ingredients.
Step 2: Mix the Dough
In a large bowl, combine the flour and salt. Add the yeast mixture (or instant yeast, water, and sugar if using that type). Stir everything together with a spoon until it starts to come together into a shaggy dough.
Step 3: Knead the Dough
Turn the dough out onto a lightly floured surface and start kneading. Push the dough away with the heel of your hand, fold it back over itself, and repeat.
Knead for about 8–10 minutes until the dough becomes smooth, stretchy, and elastic. This step is crucial because kneading develops the gluten in the flour, which gives bread its structure and fluffiness.
If you press your finger lightly into the dough and it springs back, it’s ready.
Step 4: Let the Dough Rise (First Proofing)
Place the dough in a clean, lightly oiled bowl. Cover with a damp cloth or plastic wrap and let it rest in a warm spot for 1–2 hours, or until it doubles in size.
This is when the yeast works its magic, creating tiny air pockets that make the bread soft and fluffy.
Step 5: Shape the Dough
Once the dough has risen, punch it down gently to release the gas. Then shape it into a loaf. You can either roll it tightly and place it into a greased loaf pan, or shape it into a round loaf and place it on a baking tray.
Step 6: Second Rise (Proofing Again)
Cover the shaped dough and let it rise for another 30–45 minutes until it puffs up. This second rise makes the bread extra soft.
Step 7: Bake the Bread
Preheat your oven to 375°F (190°C). Bake the loaf for 25–30 minutes, or until the top is golden brown and the bread sounds hollow when tapped on the bottom.
For extra softness, brush the top with melted butter right after baking.
Step 8: Cool Before Slicing
This part is hard, but important. Let the bread cool on a wire rack for at least 20–30 minutes before slicing. Cutting too early can squish the loaf and make it gummy inside.
Tips for Making Bread Extra Fluffy
Use Bread Flour If You Can: It has more protein than all-purpose flour, which means stronger gluten and fluffier bread.
Don’t Kill the Yeast: Make sure your water is warm, not hot. If it’s too hot, it will kill the yeast.
Be Patient with Rising: Letting the dough rise properly is key. Don’t rush it.
Add Milk or an Egg for Richness: If you want an even softer bread, replace some water with warm milk or add one egg to the dough.
Knead Well: Proper kneading makes all the difference in the final texture.
Variations You Can Try
Once you’ve mastered basic fluffy bread, you can get creative with these fun variations:
Garlic Bread Loaf: Add minced garlic and herbs to the dough, or brush with garlic butter before baking
Whole Wheat Bread: Swap half the flour with whole wheat flour for a healthier version.
Cheese Bread: Add shredded cheese to the dough for a cheesy twist.
Sweet Bread: Add cinnamon and raisins for a dessert-like bread
Herb Bread: Mix in rosemary, thyme, or oregano for an aromatic loaf.
Common Mistakes Beginners Make
Dense Bread: Usually caused by not kneading enough or not letting it rise long enough.
Flat Loaf: Often due to weak yeast or rushing the rise.
Dry Bread: Too much flour or overbaking.
Don’t worry if your first loaf isn’t perfect; bread baking is something you get better at each time you try.
Why Bread Without a Machine Is Special
Bread machines are convenient, but baking by hand connects you to the process in a deeper way. When you knead dough, you feel its transformation under your hands. When you watch it rise, you see life happen in your bowl. And when you finally bake it, you know the work was yours alone.
Every loaf is unique. Every crack in the crust, every swirl in the crumb, tells the story of the baker who made it. That’s the beauty of homemade bread.
Conclusion
Baking fluffy bread at home without a machine is not just possible, it’s simple, rewarding, and a skill that will stay with you forever. With a little flour, yeast, water, and patience, you can create bread that rivals any bakery loaf.
So next time you crave warm, soft bread, don’t reach for the store shelf. Instead, roll up your sleeves, sprinkle some flour on the counter, and make it yourself. The process is soothing, the aroma is irresistible, and the first bite of your homemade bread will make you wonder why you didn’t start baking sooner.


